
This post is a cross-post from MyCUGC.org
Citrix Microapps service launched in 2019 and saw a realization of the value brought by the acquisition of Sapho in late 2018. Microapps help to reduce complexity involved with everyday processes in order to drive productivity gains. If you’re not familiar, it is well worth checking out the overview from Citrix. In this post we will focus on one of the latest continuous innovations added from the Microapps team to the cloud service – the general availability of the Connector Appliance for connecting to on-premesis API’s. This appliance enables the cloud service to facilitate calls to services that live only within your datacenter and thereby allowing your Citrix Workspace to expose Microapps to services that were previously only available from applications within your environment. The implications for this access are far reaching as you can now potentially modernize and optimize common business tasks in order to drive productivity gains in your environment.
In this post we will explore deploying the connector appliance, connecting it to your Citrix Workspace, publishing a legacy API via Citrix ADC (formerly NetScaler) in order to enable HTTPS connections, then creating the integration and a Microapp.
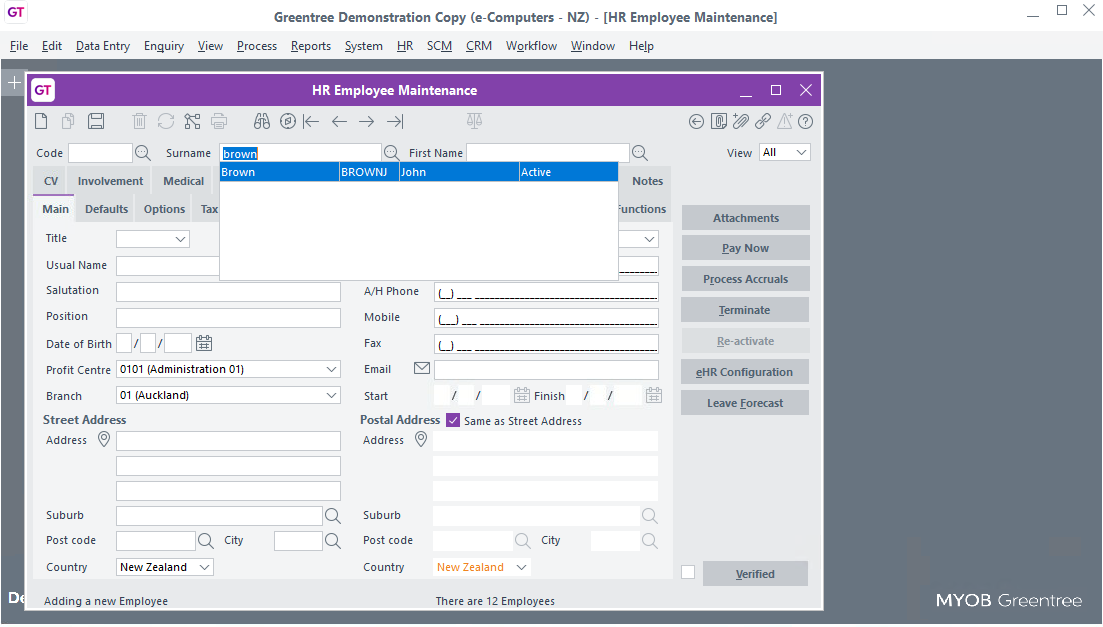
In our demo case, the Windows Application GreenTree is published via Citrix Virtual Apps and Desktops for all users. A common task that was identified in a process review is address changes when employees move house. While this may be accomplished with self-service edits, the business requires this information be validated by HR in order to ensure continuity of pay. Address edits were identified as a target for Microapp.
Since our Demo API from GreenTree supports HTTP only, on port 9000, we will publish it using HTTPS via Citrix ADC. Load balancing is accomplished in 3 easy steps under Traffic Managerment

Step 1, Add back end server(s)

Next create a service group and add the service with the port. In our case, the API listens on port 9000 (non-secure HTTP)

Click “No service group members” in the next screen to add members

Find the server in the list and enter the port number, then click OK

In a production environment, we could also configure a MONITOR, which would allow us to do health monitoring of the back end API. For this demo, we will skip that step (and rely on the default “tcp” port check)
Create the Vserver and Bind the service group. In this case we will use NON ADDRESSABLE vserver as we will be using content switching to publish it.


In a similar fashion to before, we will work from the bottom up under the Traffic Management -> Content Switching

Create an action

Then a policy

Finally, bind the policy to our Content switching vServer (or create one, similar to how the load balancing vserver was created. Give it an IP address, choose ‘SSL’ as protocol, then bind an SSL certificate as well as the policy).
![]()
Now we can test our API publishing and we see it is working.

Next, we need to deploy a Connector Appliance that can speak to the API. In the log into https://citrix.cloud.com, navigate to “Resource Locations”. While on this page, click “ID”, copy the ID into notepad for later, then click the button for connector appliances.


Once the VM is downloaded to the platform of your choice, boot the device. Configure the IP address info then navigate to the URL shown in the console. You’ll be presented with an 8-digit code, which you enter into this screen then register. At that point, your connector appliance is ready to chat with your on-prem API.
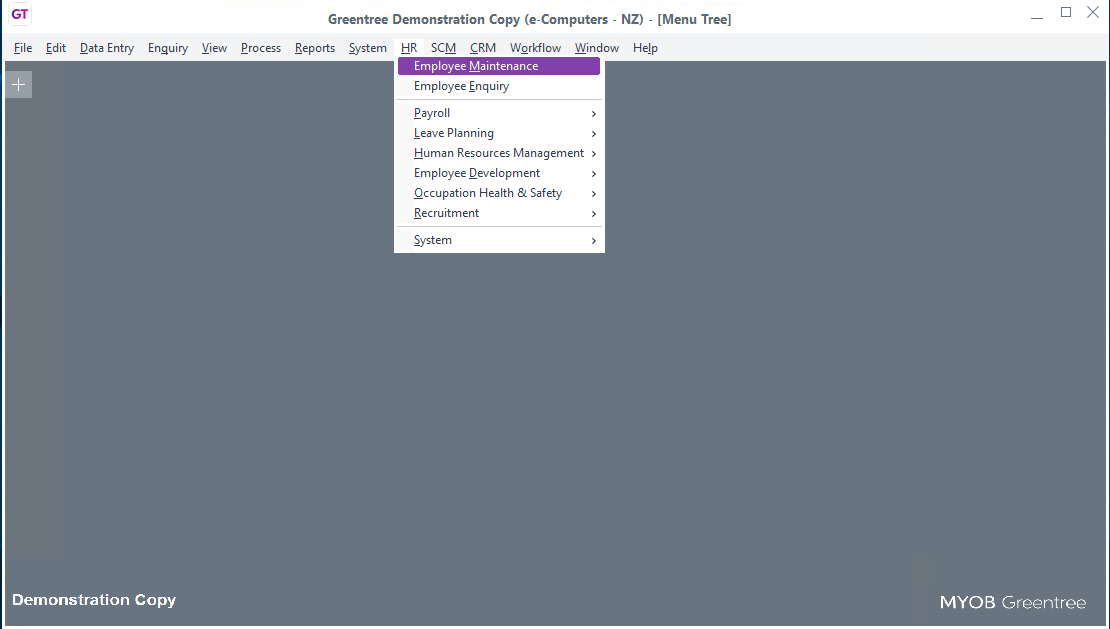
In Citrix Cloud, navigate to Microapps and create a new HTTP integration.


We need the resource location ID, which can be obtained from the Resource Location’s page (click the “ID” button if you did not retrieve this earlier). Configure the authentication parameters for your API then save the integration.
Once the integration is saved, we need to load some data. For our demo, we will be working with HR information within our demo system.

We will fill in the necessary data. Our API requires an API key header or query string, which we can easily add. This will vary depending on your API, so be sure to consult the API documentation. In our case, API calls must include “APIKey”, so we will submit that with all requests to the endpoint /06/HRPerson

If we test the service, we see the data return as expected.

Next, we fetch the table structure from the API. We see that the result returns a JSON array with HRPersons, so we need to include a JSON pointer to ensure our table selects into the JSON result we’re expecting for our table.

Finally, we will set a primary key on the table that could not be auto generated using the pencil icon.

Once this is saved, a sync will happen and we will head over to the tables page to preview the data. Since we see what we’re expecting we can move on to synchronization.

Let’s set up our sync schedule by clicking “…”
![]()

We’re now able to move on to our Microapp. Click the “…” then choose “Add Microapp” and Navigate to the new, Blank Microapp.
The first stop is the Properties page for some vital info like name and icon. Don’t forget to hit save at the top of the page before navigating away.

Our workflow will call for the ability to search for users in the employee table, then edit them. We will accomplish this with an action that leads to a search page. The search results will then allow you to choose the result and edit the record.
We will use a FORM page tied to the Employee table. Also, we’ll go back and create a second page called Employee Edit for use later.

For our purposes, we’ll add a Lookup, along with a text input that is hidden. There are multiple ways to pass data to the next details page, but in this implementation we chose using the value from the hidden text input due to issues that arose at the time of writing using the input value directly.

Once the controls are added, click page details then “Edit Logic”

The rule here sets the value of the hidden control when the value of the Lookup isn’t empty.

Configuring the search button, we add an action to “GO TO PAGE”, and also select conditions for the TARGET PAGE RECORD

We set the target page record to the employee ID (“code” in our table) to the one that was found using the lookup.

Once the lookup, hidden field, and search button are configured, we can flip back over to the Employee Edit page. Using the tools on the left, we can build a nice looking grid for the various properties. Have a play with the different tools available. In our case we’re only presenting the most relevant fields, not all fields that could be edited. Remember this core principle of Microapps: You’re not trying to re-invent the monolith. Keep it simple, we want the big green “COPY” button on the multi-function printer here.

When we have this all laid out, we’ll back out and go edit our integration to create a service action. This service action is what we’ll use to save data back to the System of Record (SoR). Go back to the Microapps Dashboard, find the integration, click “…” then “Edit”, then “Service Actions”, and finally “Add Service Action”

This request, much like the GET to populate the Microapps Service cache table, will vary by API. In our case, the API documentation states that there is a POST request to the endpoint /{{CompanyID}}/HRPersons/{{code}}
We configure the parameters we want to send back to the database (be sure to include any mandatory parameters according to the API documentation)

Then we can specify the mandatory bits. In this case, the endpoint is dynamic according to the URL path (for example, /06/HRPersons/BROWNJ). To accomplish this, we add a PATH parameter as shown below (remember in our API ‘code’ is the Employee ID)

Just like the “GET” request, this particular API still requires we send along the API key as a header or a query string. We will use header.

Next we specify the parameters that will fill the BODY of the POST request.

As well as the JSON structure of the body. Note the syntax of the parameter values as {{VARIABLE}}

{
“HRPerson”: {
“UsualName”: {{UsualName}},
“HRNotes”: {{Notes}},
“IsActive”: {{IsActive}},
“IsSuspended”: {{IsSuspended}},
“StreetAddress”: {
“Address1”: {{Address1}},
“Postcode”: {{Postcode}},
“State”: {{Postcode}},
“Mobile”: {{Mobile}}
}
}
}
Lastly, for this action we want to immediately re-sync the data so that the users see the data reflected in the microapps cache rather than waiting for the next sync.

We can now save the service action.
Heading back to our Employee Edit page, the various fields are mapped to the data fields from the table. The save button has an ACTION that executes a service action.
 Chose “Edit parameters” to map the parameters we’ll POST back to the System of Record (SoR)

Finally, we can now subscribe some users to our Microapp. Back on the dashboard chose “…” for the Microapp then subscriptions. Search for a user or group to add them.
![]()
With a user or group subscribed, we’re now able to use our Microapp! In Citrix Workspace, we won’t see an action until we’ve used it, so click “View all actions” on the right.

We can search for our user…

View their details, and optionally edit anything and it will be reflected immediately in the system of record (as well as subsequent searches in the Microapp, since we opted to re-sync after our service action).


If we compare this workflow to the published application, we see the steps are greatly simplified.

I hope this walkthrough was helpful. Citrix has enabled some truly interesting use cases for businesses to optimize worker productivity and reduce mundane tasks. In our example here, editing an address in the Microapp is likely to save a few minutes every single time as launching the published app, logging in and navigating to the user in the application is a time-intensive task. With work intelligently organized in Citrix Workspace, this routine task becomes a couple of clicks and a quick edit, letting them get on with what it is the need to do.
The possibilities don’t end with a simple edit, either. In an upcoming post, we’ll explore how to notify the user that their address change was acted upon so they have confirmation that the change has taken place.
Until next time.